Upload a Mailing
Documents (PDF, XPS or Postscript), data files (CSV, XLSX, ODS or JSON) and ZIP archives (containing PDFs) can be submitted to Bing for processing using this option.
Although most documents will be compatible with our system without any prior set up, we recommend that you talk to us first about your templates, and identify whether any prior configuration is required.
PDF documents submitted to Bing should be A4 in size, with all non-standard fonts (*) embedded and transparencies flattened. Documents conforming to these requirements ensure compatibility with Bing's digital and print processes. Tools such as Adobe Acrobat can preflight documents highlighting and fixing errors. Talk to Bing Customer Service for assistance in ensuring documents meet the required standards.
Standard fonts (*) are as defined by Adobe. Refer ISO32000 Section 9.6.2.2.
Upload Files
Select Upload Documents > Upload a Mailing. The initial upload screen appears. See figure 1.1
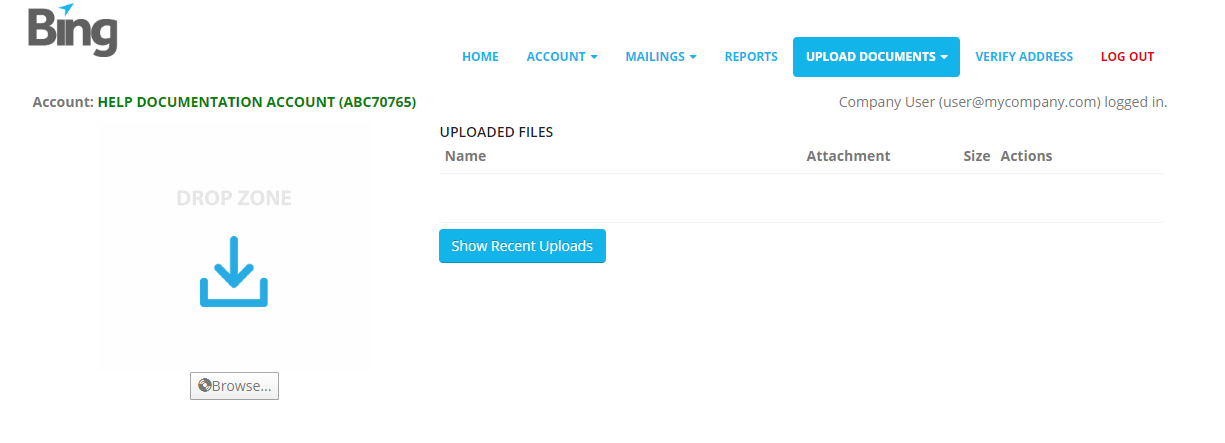
Fig 1.1
Clicking Show Recent Uploads will list the last 10 files uploaded to the portal, regardless of status (failures are also listed).
To upload files for processing, simply drag and drop them into the Drop Zone area, or use the Browse button.
Note that throughout the wizard the Discard button will clear all documents and data from the session and start again.
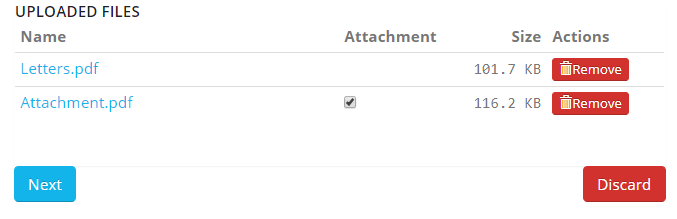
Fig 1.2
Figure 1.2 shows Letters.pdf containing several addressed letters and Attachment.pdf which should accompany each letter. In this case Attachment.pdf should be checked as an attachment. The attachment is then applied to the end of each and every letter.
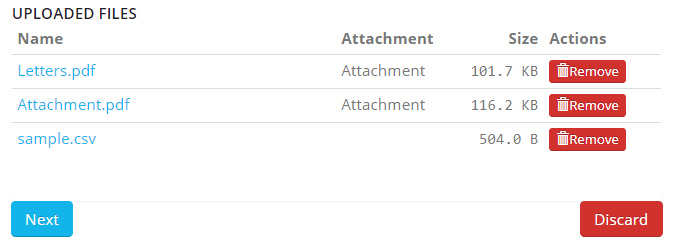
Fig 1.3
In figure 1.3 above a data file is present so all documents are automatically marked as attachments.
When all files have been uploaded and attachments selected, click Next to proceed to Addressing.
Addressing
PDF (no data file)
In the simple case of uploading pdf documents, click Next to Extract address from document. See figure 1.4. This is the default, with addresses extracted automatically from those documents not marked as attachments. Remember, attachments go to all recipients. Click Next to proceed.
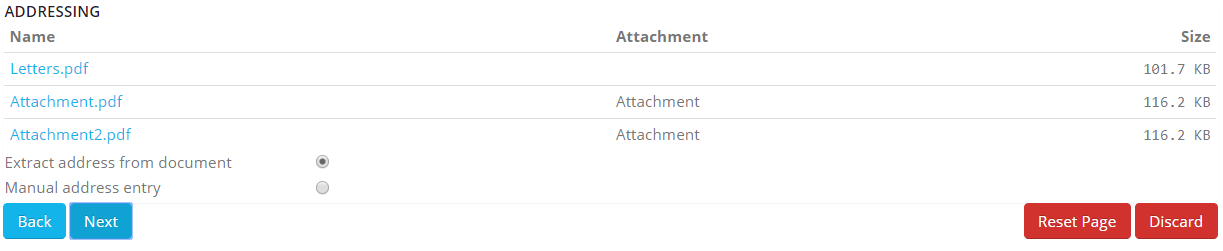
Fig 1.4
If Manual address entry is chosen, a structured postal address box is presented by default (fig 1.5). Contact Method can also be changed to email or sms. Individual recipient details can be entered, and then submitted to a list (fig 1.5a). For each contact, click Add to move the data to the address list. Enter and submit as many addresses, email or SMS as required.

Fig 1.5
An Actions menu will appear next to each address in the list once added, which allows an address to be edited or removed.

Fig 1.5a
To remove all addresses and start addressing again click Reset Page.
Click Next when ready to proceed.
PDF (with csv data file)
If a csv data file is uploaded, upon entering the addressing screen, the Address Template box is presented. Select the Postal Address fields from the Insert Column drop down selector to create the desired postal address template in the format required. Click Postal Preview to view the formatted addresses. See figure 1.6. Changes can be made to the template field placements as required. Click Refresh Preview to see the amended address format.
Email addresses may also be selected in the addressing screen by selecting the appropriate data column from the Email Field drop down selector.
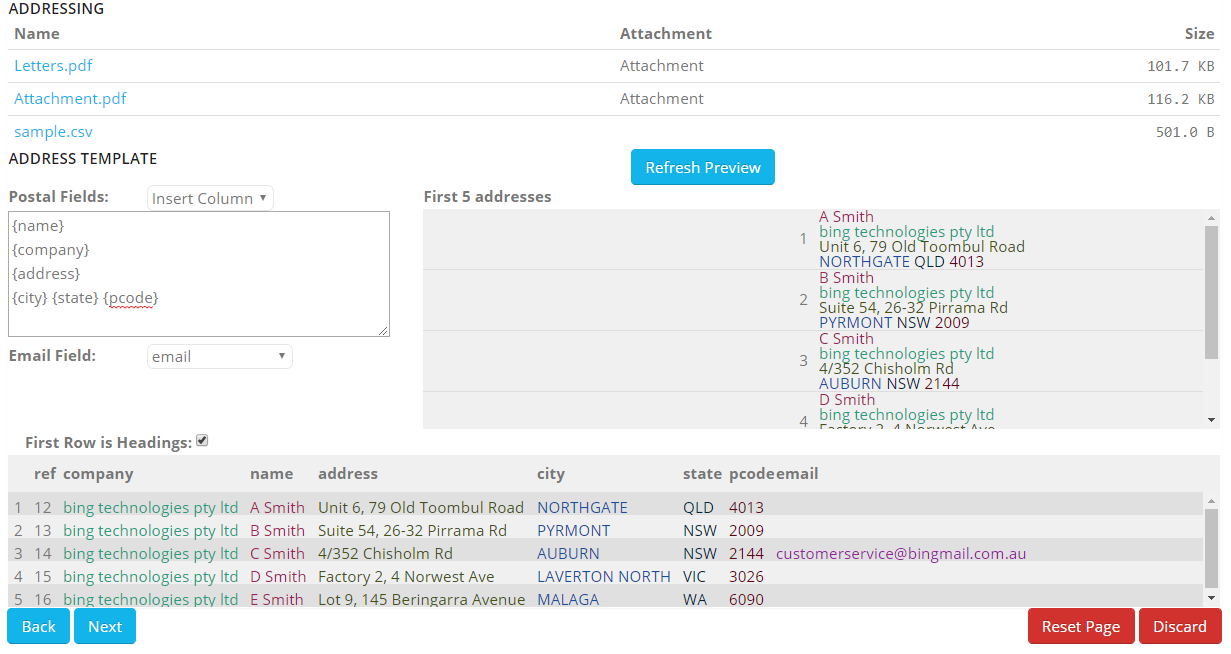
Fig 1.6
Some customers may have Profiles available which can contain address templates. If available, select the desired profile from the drop down selector, any address template will automatically load.
Note that when using Microsoft xlsx data files, the wizard will skip the addressing screen and move directly to the reordering and data options screen. Xlsx files currently require a pre-existing address template to be set up in conjunction with Bing customer service. Alternaively save the xlsx file as a csv to use as described above.
Reordering
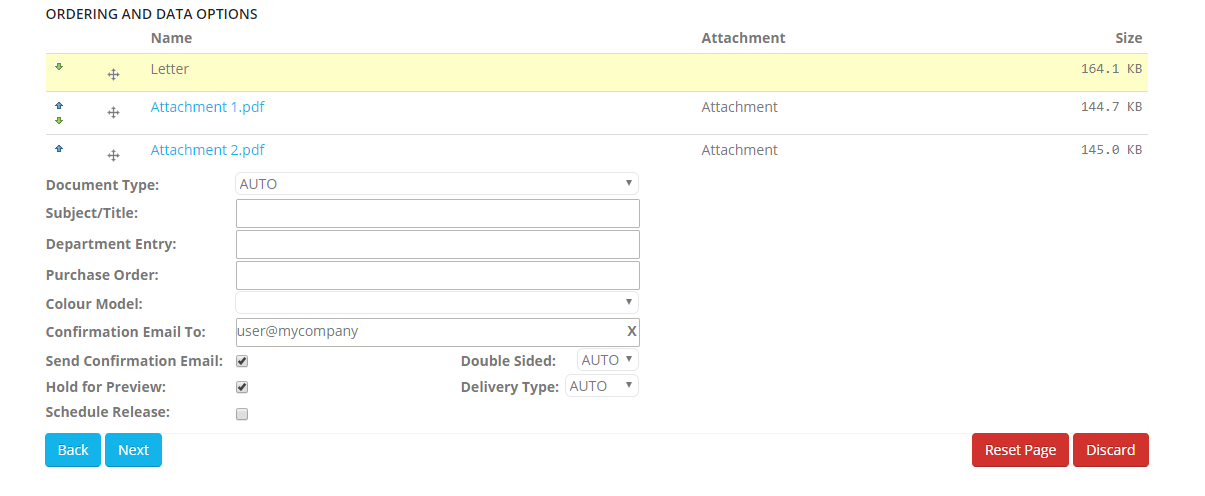
Fig 1.7
Attachment documents may be reordered by dragging and dropping (click on the  symbol to drag), or by using the up/down arrow buttons.
Attachments always follow letters unless re-ordered.
Data Options
Document Type (if enabled) defines what data can be extracted, and from where in your document i.e. address zone location. Document Type is a list of available data extraction rules.
Document Profile (if enabled) contains predetermined mailing options such as colour model, simplex or duplex, and the application of a fixed back page.
Confirmation Email To - is used for email confirmation acknowledgements. Clicking Use Login will populte this field with your Customer portal Username if it is your email address.
Department - can be used for billing breakdown. Entered either as a freeform entry, or in a pre-configured Department List.
Purchase Order - if separate invoices are required.
Colour Model - select from the various options available for both letters and attachments. if not selected, your account default will be used.
Hold For Preview - check to hold Mailings for your review. If selected, customers must release the mailing from within the portal. Where timed or volume consolidation is used talk to customer service about the best time to review and release your mail.
Double Sided - enforces duplex printing when selected. if not selected, your account default will be used.
Send Confirmation email - when your mail is successfully received. Additionally an address list from the mailing, and a PDF of the first letter, can both be attached this email. Contact Bing Customer Service if this is required.
Schedule Release - when the box is checked it enables for the time and date the mailing is released to be set. The date selector allows up to 30 days in the future.
At any time click Reset Page to return any Data Options to their defaults.
Click Next to proceed to Review and Submit.
Review and Submit
From the review screen you can see the document order and data options that have been selected. To change them, click Back. When ready click Submit. A Confirmation screen will appear containing a Mailing ID. This is shown along with your account's most recent uploads, and their status, which is refreshed every few seconds. See figure 1.5 below.
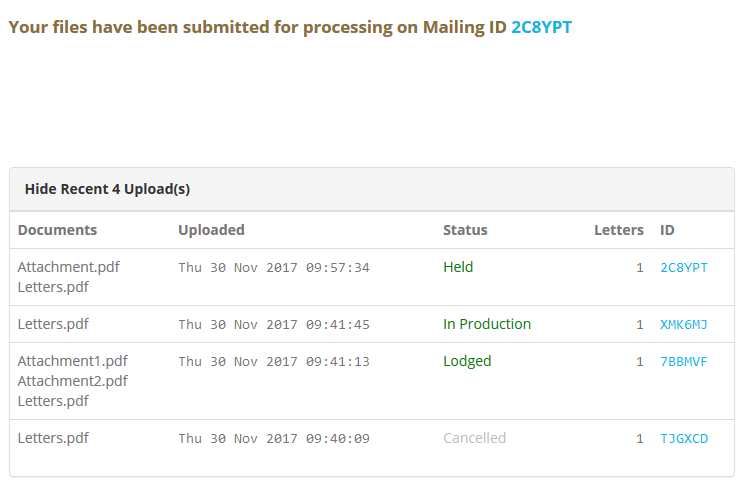
Fig 1.8
The Mailing ID is also a link. Clicking on it will switch to the Mailing Search screen, and give a detailed view of your mailing.
As with the Mailroom application, particular attention should be paid to extracted addresses and document length to verify letter separation and address extraction results are as expected.
My Files
This option is used to upload files for Bing Customer Service to act upon (e.g. a company logo or document to test for address extraction), or download files Custoemr Service send to you. Click the Browse button, or drag and drop your file(s) to the Drop Zone to send your document or file. Once the upload is confirmed please advise Bing Customer Service as upload is not monitored.
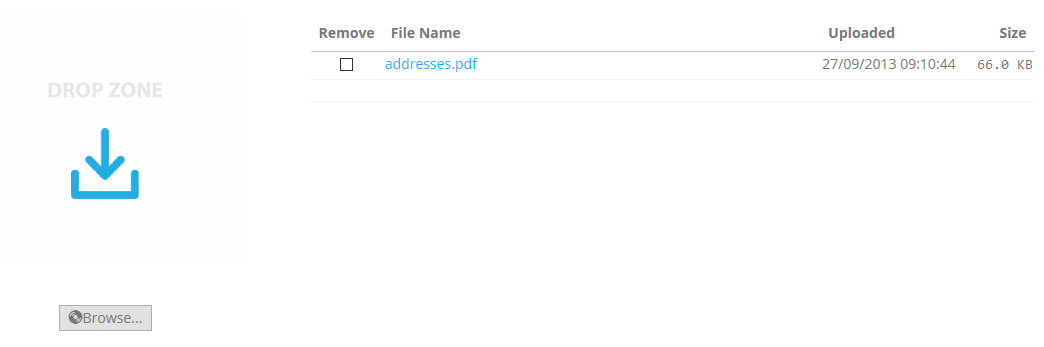
Please note, files will remain in My Files until deleted.
Send SMS
The SMS screen can be used to send both adhoc SMS to a few recipients, or a personalised campaign to all records in a database. Input is broken into 3 components.
The Destinations section allows Manual Entry of mobile numbers (one per line), or upload of a recipient file.
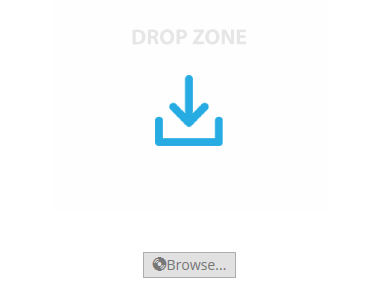
Fig 2.1
If a data file is uploaded (by dragging and dropping a file to the Drop Zone, or by using the Browse button), a data column display, and options to select the data column containing the destination mobile number or email address (supported for SMS) will display (Fig 2.2). In the example below, this is the field "sms".
If a header record is present in the data, check "First Row is Headings". The column headings appear for selection of the Recipient Column. Select the appropriate column using the drop-down.
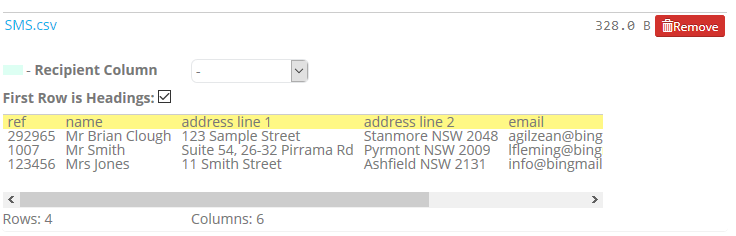
Fig 2.2
A hyperlink to a hosted PDF document can be inserted in the SMS message. The PDF must first be uploaded using the Linked Document option.
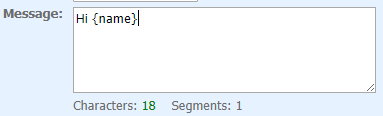
The SMS Message text is entered in the Template section. Character count displays below the Message window.
Note: Exceeding 160 characters will send one message, but incur an additional SMS message charge per segment. Segments are displayed below the text input window (Fig 2.3). The existence of multiple segments reduces the number of characters per segment to 153, as there are 7 'reserved' characters for joining the segments.
Name: Optional, but required for re-use (see Save). If already created, an existing template may be selected from the drop-down.
Subject: Optional. This option only appears if there are email addresses in the Recipient Column as it is required for email only (email is supported in SMS).
Replies To: SMS replies can be directed to a specific mobile number or to Bing. Additional charges apply. If replies are directed to Bing, this is reported via on demand reporting - see the Reporting section.
Sender Label: appears as a transmission name in the recipients SMS message.
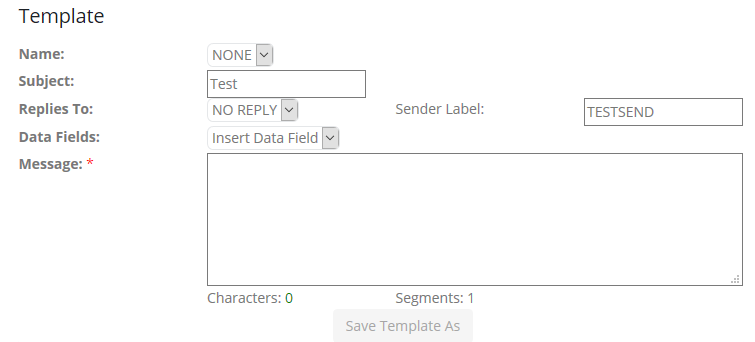
Fig 2.3
If a data file is used, all fields are also available for insertion in the message body (Insert Data Field drop-down) for personalisation.
Note: if a linked document exists, an additional field 'hyperlink' will be available for selection.
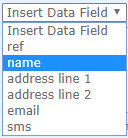
Note: Place the cursor in the position the variable is to appear before selecting. Once a data field is inserted, it appears in curly braces.
Note: Variables (must include curly braces) may be moved, copied and pasted.
Character count does not allow for variable length.
Once created, a template can be Saved for re-use (click Save Template As). If existing, and changes are made, it can also be re-saved or deleted.
Clicking Advanced reveals additional reporting and process options:
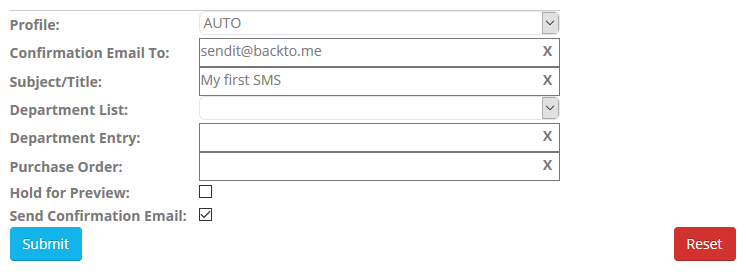
Profile: additional production options. Do not use uless instructed by Bing Customer Service
Confirmation Email to: sends an email acknowledgement of receipt. Click on the "Use login" link to populate this with your login email address.
Subject/Title: set for historical identification of the campaign. Default title is SMS dd/mm/yy hh:mm. If cleared, the Subject/title becomes the csv file name.
Department List/Department Entry: Used for camapign cost allocation. The Department List field will not appear unless it is being captured from your uploads, or has previously been set up by Bing Customer Service.
Purchase Order: manually entered if applicable.
Hold for Preview: Check box - allows you to review results and release the mailing
Send Confirmation Email: Check box - sends a confirmation of receipt of the mailing to the email address specified in "Confirmation Email to".
Click Submit to send, or Reset to remove all files and settings.