Mail merges using large numbers of records can be challenging with Microsoft Word and Publisher, as these applications create new documents for each record, creating large files which can lead to lengthy delays when printing.
Our customers have had very successful results sending thousands of letters using EasyPost Mailroom with mail merges. The following steps will assist should your mail merges encounter any issues such as Word or Publisher crashing during the merge process: (Step-by-step details follow after the summary)
1. Optimise the document template size by keeping the images proper size and if possible in compressed format. There is a simple method you can use to reduce image size within Microsoft Word, if you do not have the image as a separate file, or any image editing software.
2. Maximise the available RAM on your computer while creating and printing merged documents.
3. Print documents directly to EasyPost Mailroom using “Merge to Printer” rather than “Merge to a new document” (unless you require post-merge document editing)
Optimising document size
Note the document file size and make sure that you have done everything to keep it optimised. Actions may include the following:
- All images used in the document are of desired size and resolution. An A4 document is approximately 1800 pixels wide and 2400 pixels high – the print resolution is 200 pixels per inch (“ppi”) – thus an image that is as wide as the entire page should be no wider than 1800 pixels
- Do not use images where text will suffice – in document content like telephone numbers and return mailing addresses
- Remove all extraneous information that may be present while formatting the documents so that they are not making the file size unnecessarily large - these may be non visible images used to format documents
- Do not use transparent images, especially on top of another image – MS Word has a big issue with this type of image (call us if you need help)
- If using MS Word, there is a capability to compress the images to print resolution –image rtesolution of 200ppi is perfectly acceptable. You can always print a sample out from EasyPost Mailroom to your local printer to proof the quality. See Compressing images below.
Managing number of Merges
- When performing mail merge, keep the print file size and the free RAM in mind. Close all ‘unnecessary’ applications on the computer so you have the maximum RAM free
- Check the amount of RAM installed on your computer and deduct about 250 MB for the operating system (Windows 2000 and Windows XP only – for Vista it is 500 MB) – result will be a fair size to calculate number of merges possible
Example:
You have 512 MB RAM installed, deducting 250 MB for operating system leaves you with about 262 MB free. If the print size of the document is 5 MB, you should be able to merge about 50 letters without any issues and even may be as many as 60 letters.
Merge to the Mailroom printer
- Once you have finalised your document template for mail merge, attached the data source (recipient list) to the document and inserted the appropriate merge fields, you can use the “finish and merge” option to print all documents to the Mailroom printer directly. If individual documents require editing, using the ‘print to new document’ function will complete the merge and display the entire mailing in a new document thus allowing you to do so.
If you are printing a large merge list this can use considerable system resources. If this is an issue, printing ranges of records, rather than merging the entire database at once, can alleviate this.
Optimizing print documents
- Make sure you have all pages printed to EasyPost Mailroom – MS Word may quit unexpectedly if it encounters resource issues and may not print all pages to EasyPost Mailroom.
- Close all non-essential applications and tasks when performing resource intensive (large) mail-merges.
- If at all possible, use the EasyPost Mailroom “Letterhead” feature for superimposing images, and even non-personalised text, behind the merged document – this will save considerable time and system resources as MS Word multiplies document content for each merged document.
- Make sure that there is no extraneous embedding in the document (non-visible but still taking space). The best way to do this would be to remove all images from the document and save the text document and check the document size - usually you will see one or two page text document size to be between 30 KB and 60 KB. If it is larger than this, there may be something hidden or embedded. An easy way to recreate a clean document would be to copy the text and paste it into another blank MS Word document, save it and compare the file size. The document may be small, but the way MS Word renders images is to print a full bitmapped page to the printer resulting in very large print file sizes.
- Keep your MS Word up-to-date with service packs and update patches – some times this can make a large difference in final document size when printing as well as Word’s overall performance.
- Word Art and Shadows may not print properly – if so, these are displayed as they would print in final form within EasyPost Mailroom preview. You may want to proof documents by printing them out to a local printer before sending them to EasyPost Mailroom.
- If printing PDFs, avoid printing as image unless absolutely necessary – printing as image removes text from the file, and thus gives the Mailroom nothing to work with when extracting addresses. Printing as image also creates a large file size.
Compressing images to print resolution in MS Word
Note: The steps are same in both versions of MS Office but in step 4 in Office 2007 you only see a single tick box on the screen and need to select “Options…” button to see the entire set of options that are displayed by default in Office 2013.
1. Insert images into a document
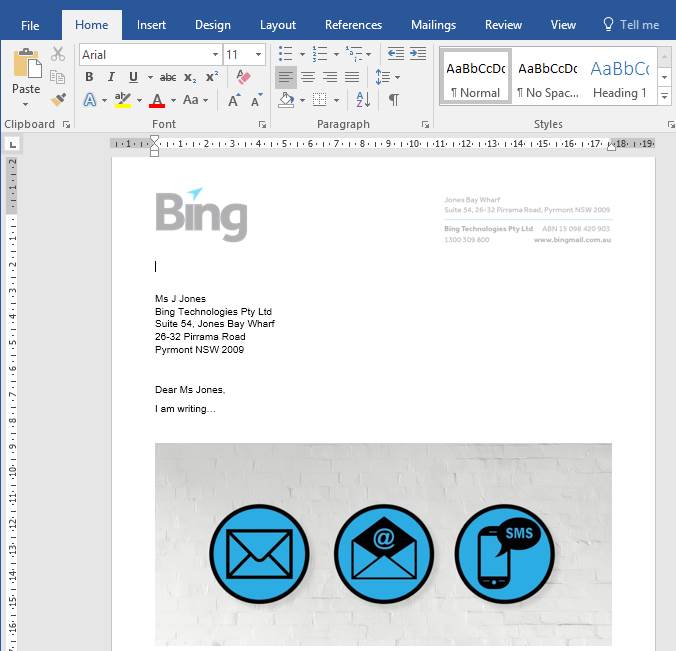
Fig 1.1
2. Activate Pictures Tools menu by selecting any one of the images, click the Picture Tools/Format tab if not already pre-selected.
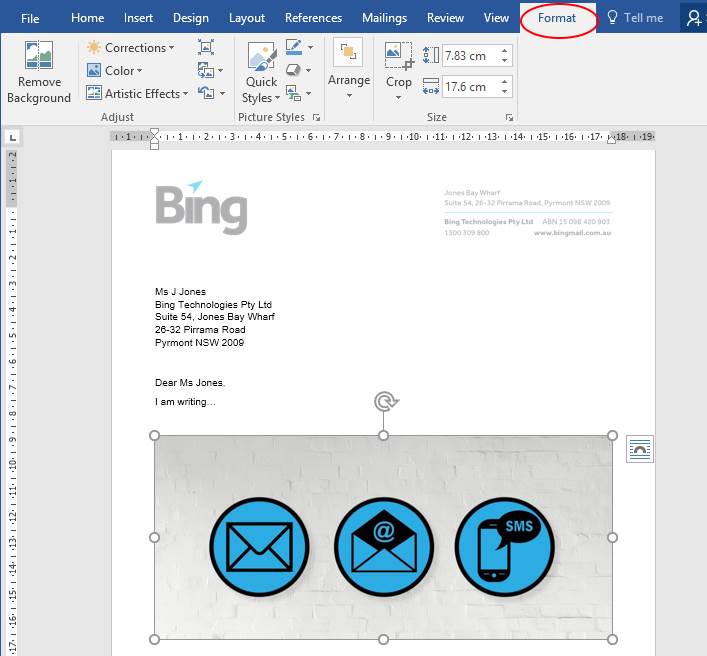
Fig 1.2
3. Select Pictures Tools menu and then select “Compress Pictures” button or the “Compression Settings” icon.
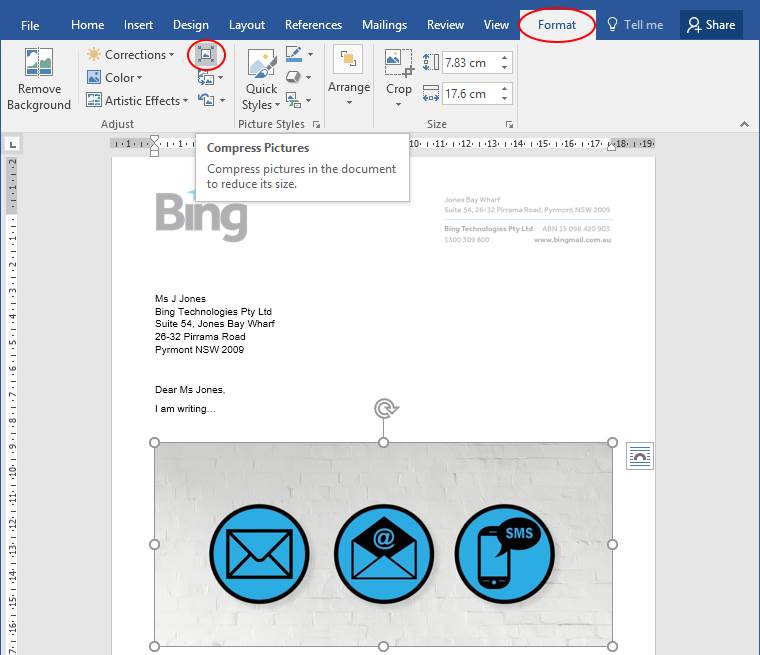
Fig 1.3
4. Untick “Apply only to this picture” setting in the Compress Pictures dialog box And tick the “Print (200 ppi): …” setting and click OK.
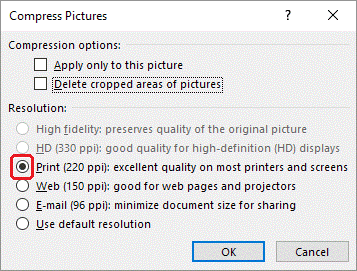
Fig 1.4
As noted earlier – in Office 2007 you will see the screen shown below, select the “Options…” button you will see the screen shown above which is same as in Office 2013.
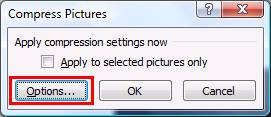
Fig 1.5